
Friday, December 6th, 2019
A "Putz" Glitter House Version of My Childhood Home
A Cape Code “Christmas Village” Paper Craft Cottage
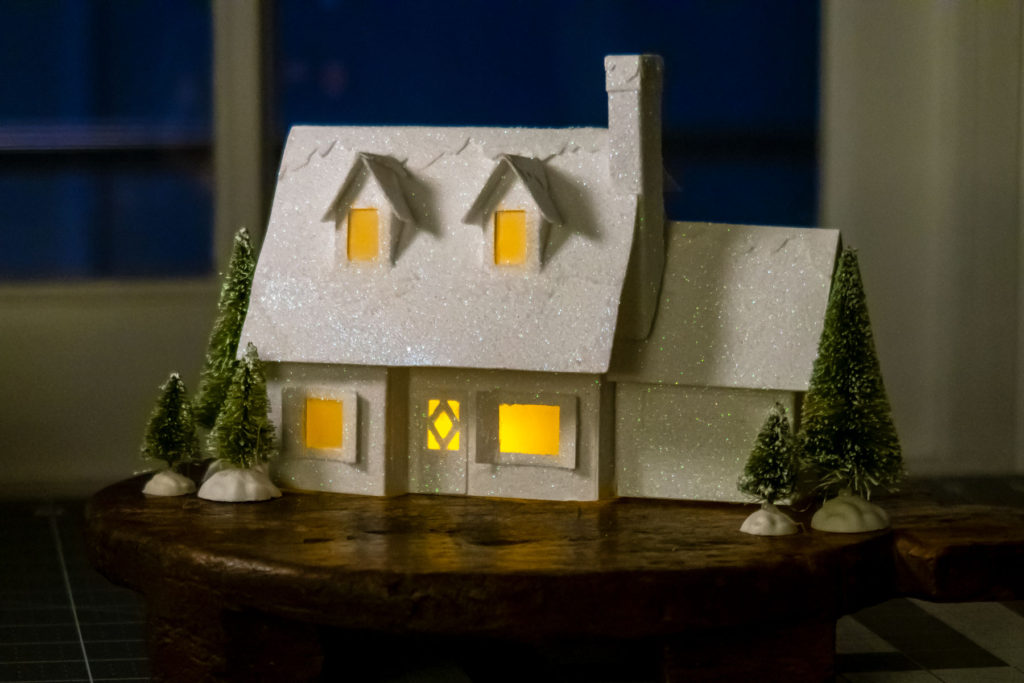
“Nostalgia ain’t what it used to be”
I’ll not begrudge anyone a modest embellishing of childhood’s memories as, after all, the victim is also the perpetrator, no? So it’s my turn: a melancholic oddball kid who spent much time alone in the hidden, me-sized neglected spaces beneath rafters or stairs of our Cape Code-style home I now often enjoy a wistful pang of longing for the old gal: a true fondness for how cozy and fortified that house felt on many a dark, snowy winter’s day.
So this season I’m celebrating that fine house with this paper craft homage (never thought myself the cluttered Xmas mantel, glitter “Christmas Village” sort, but there ya go: the contrary evidence beggars explanation).
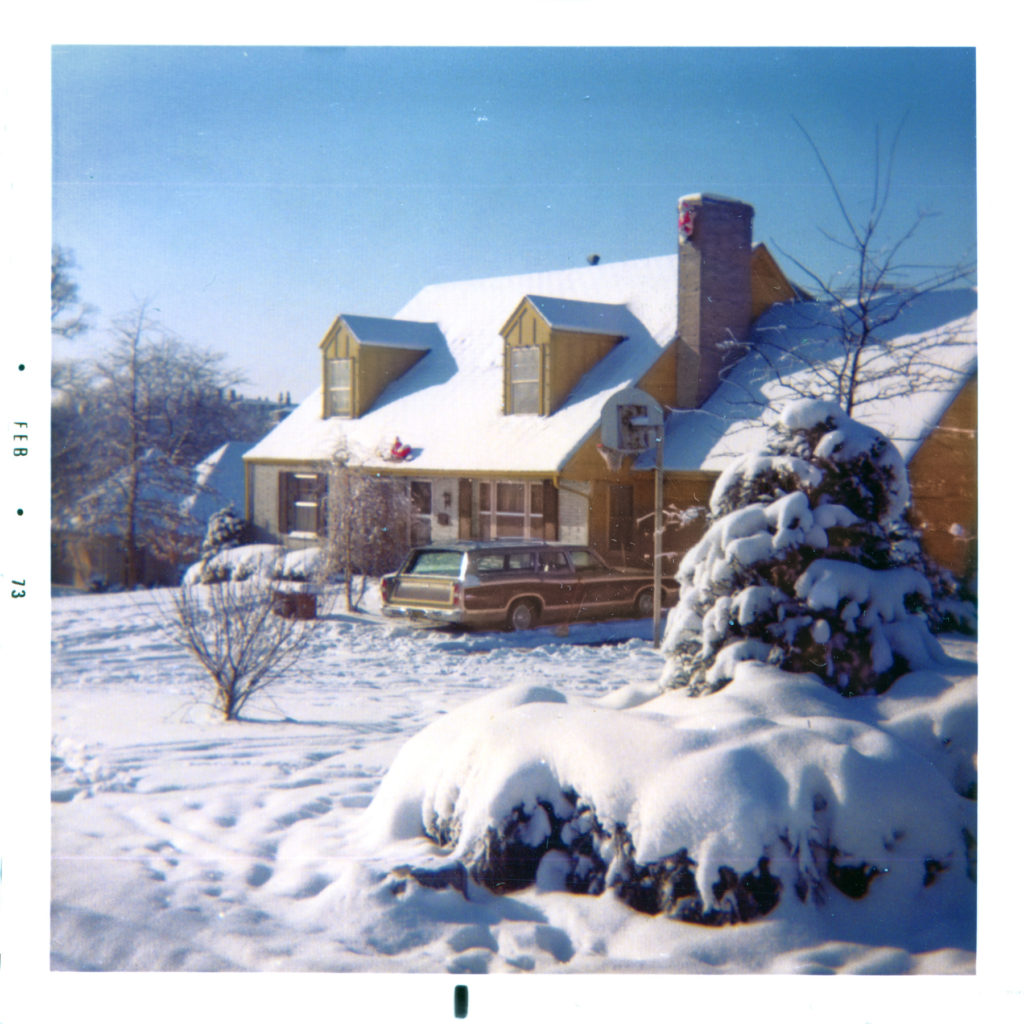
That’s our house and our road trip tested, ubiquitous, nappy-green-over-plastic-imitation-wood-paneling 70’s station wagon. Glorious.
Strapped to the chimney is a helpless blow-mold Santa. He eventually wound up in this most undignified situation due to repeated high-winds tossing him down the icy garage roof.
Santa in his sleigh (above the front door) experienced similar humiliations, gales picking-off his reindeer team one-by-one… gone Dasher! gone Dancer and Vixen! Adios, Donder… etc, etc. Now but one mishap away from cancelling Christmas all hopes yet again turn to Rudolph.
And here’s my “putz” glitter house version…
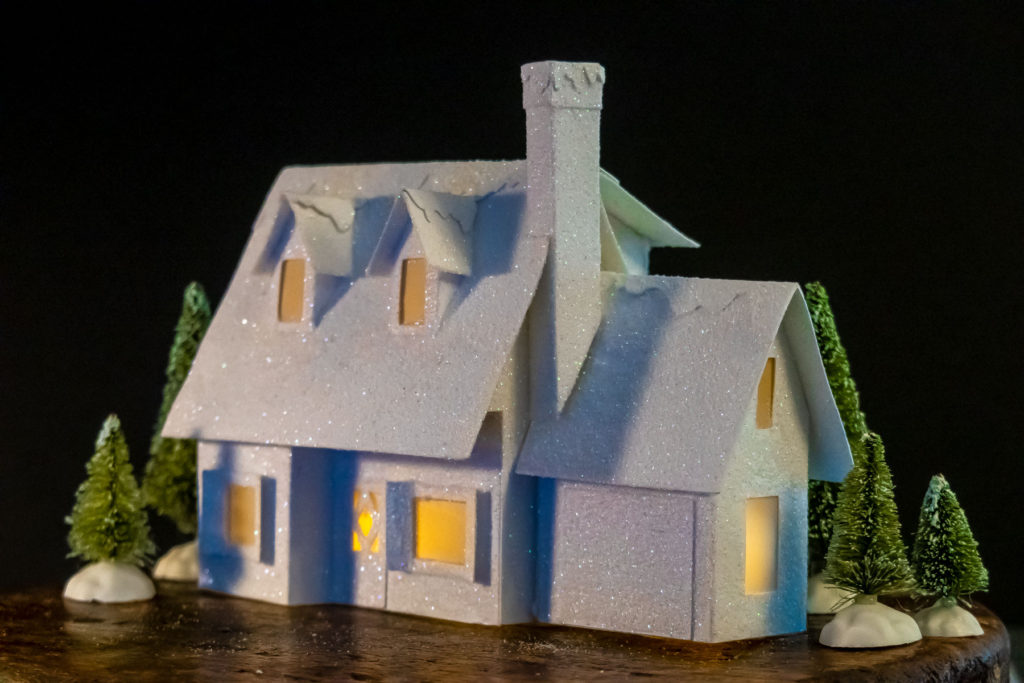
Building
- FREE Cricut Design Space Project, already set up for ya. Basic paper craft house project (exterior), interior walls and snow trim, alternative main house section (in case you’re using 12″ by 12″ paper — I used 12×18″ index card stock)
- FREE PDF house templates in case you’re printing and cutting by hand (8.5 x 11 inch layout)
- FREE SVGs in case you want to edit the vector files for a Silhouette or other cutter (not available now due to WP security issue)
Well, assuming you’re of the mind to construct one of these yourself, here’s how I went about it. If you’d like detailed instructions on glitter village houses, check out the Paper Glitter Glue blog.
As always one must begin with a quick sketch:
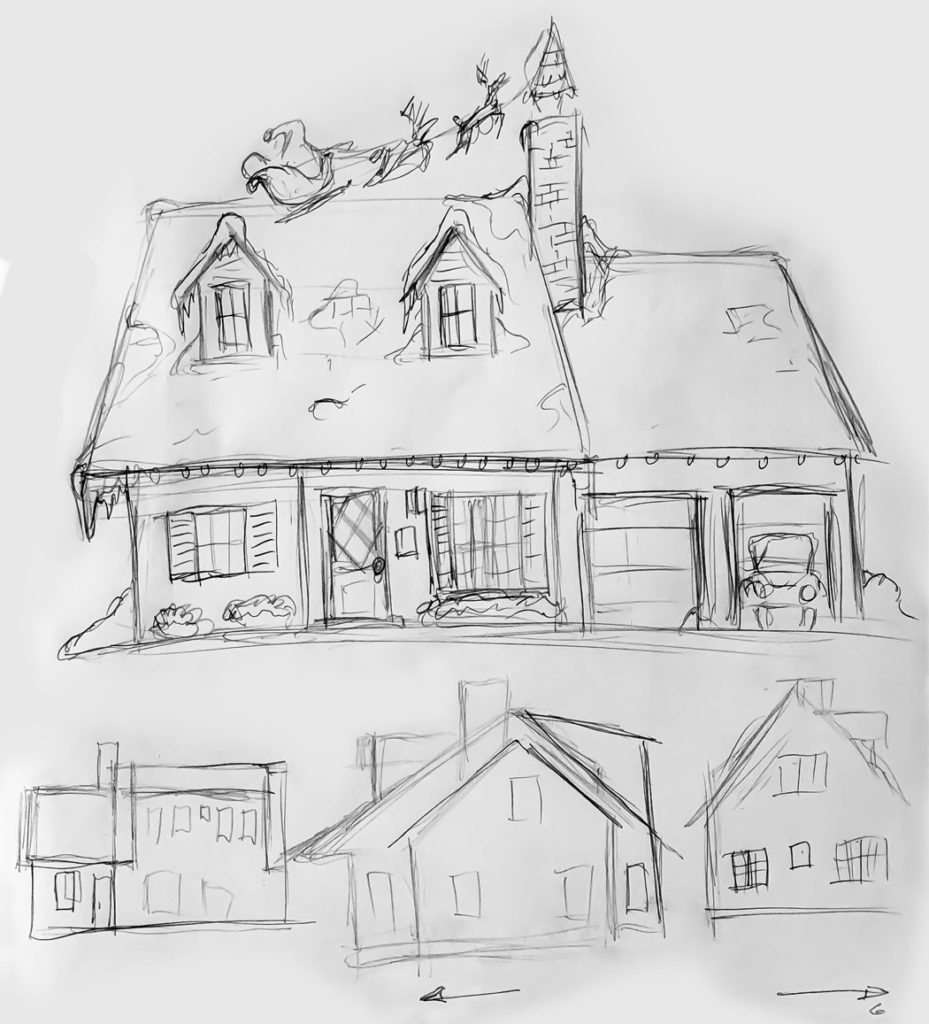
So, yeah, that looks doable. At this point I actually spent 3 hours making a cardboard mock-up, just to figure out the various angles and, more importantly for me, find where I was going to have difficulty manipulating fussy small surfaces with my clumsy fingers.
From the mock-up we inevitably head into Adobe Illustrator for a clean-up, taking that sketch and model into these elevations/renderings:
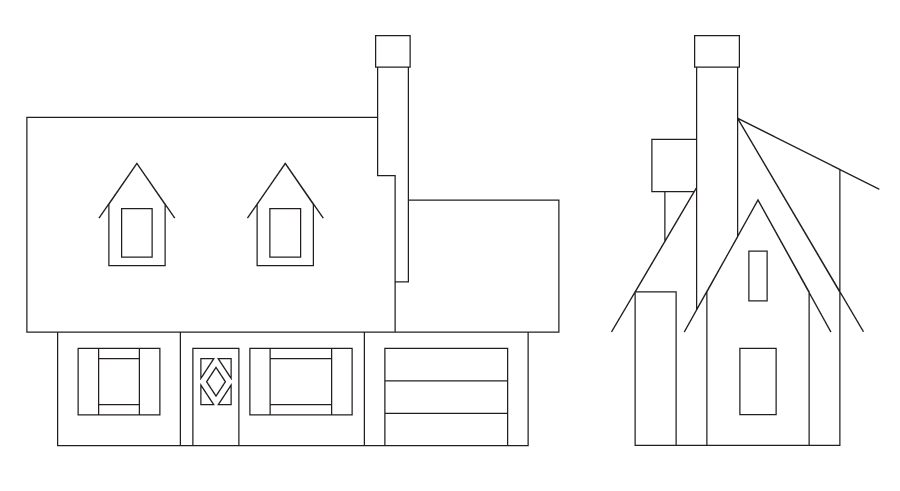
Still looking doable so now, applying some high school drafting skills, it’s time to explode all those surfaces and add glue tabs.
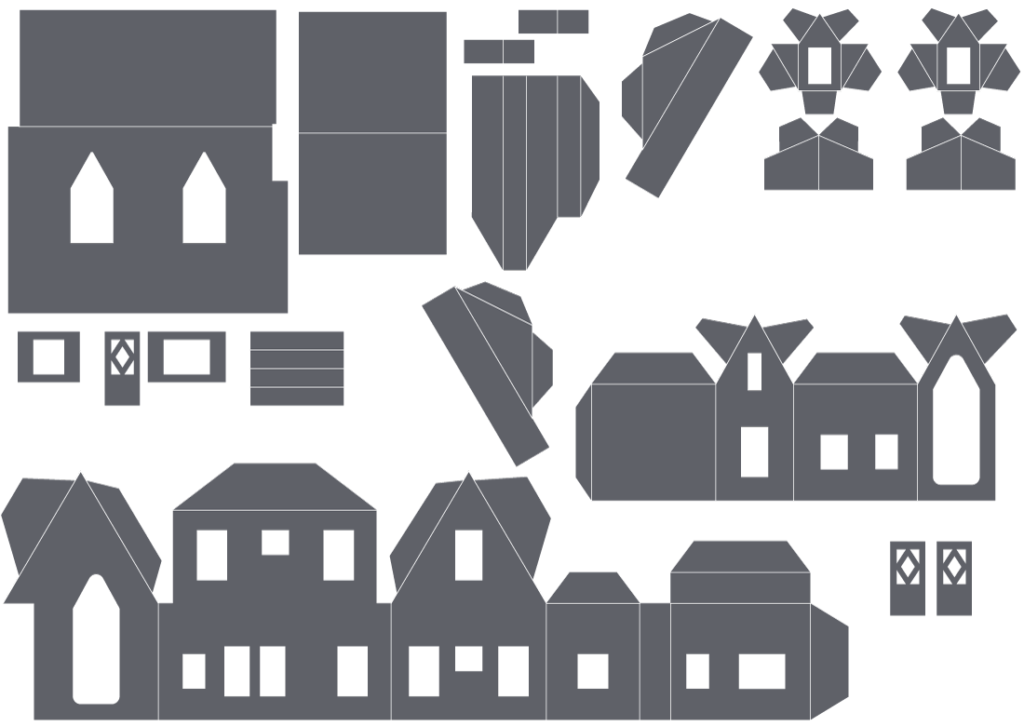
Here I switch from “old me” — the one bent over paper, tongue out, meticulously tracing a print-out with an X-acto — to the “new me”, i.e. “maker” who has access to a 21st-century electronic cutting machine (a Cricut in my case). No, really, I don’t feel like this is cheating.
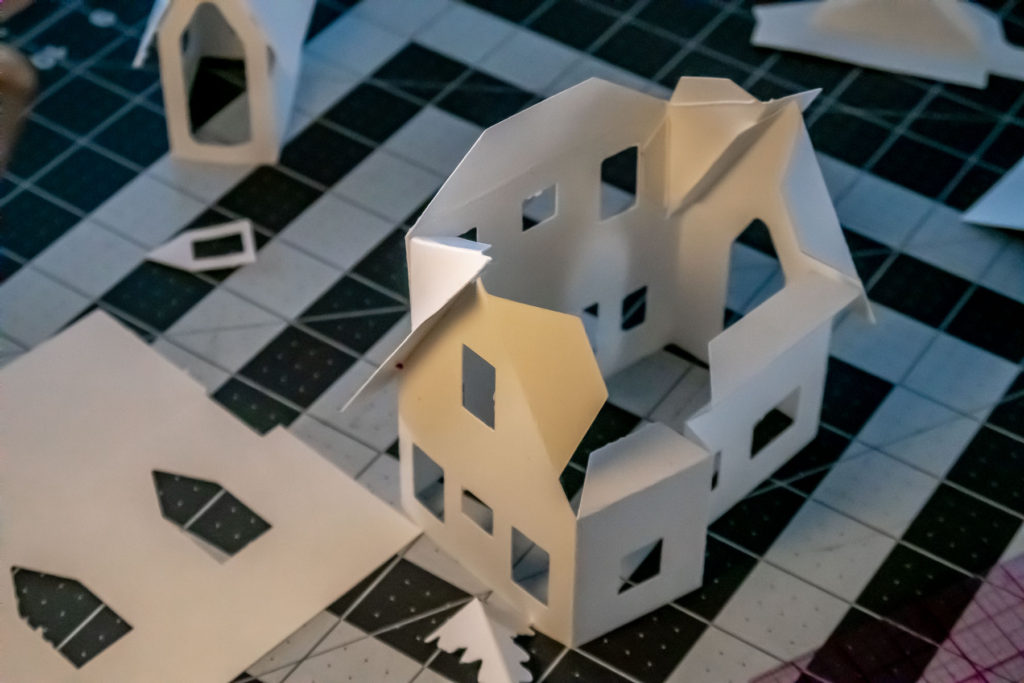
Based on these trials some adjustments were made; changes in dimensions, tabs’ spacing and sizes, and which pieces were cut-and-glue joints and which were scores. During these iterations the better ordering of assembly steps became clear, too.
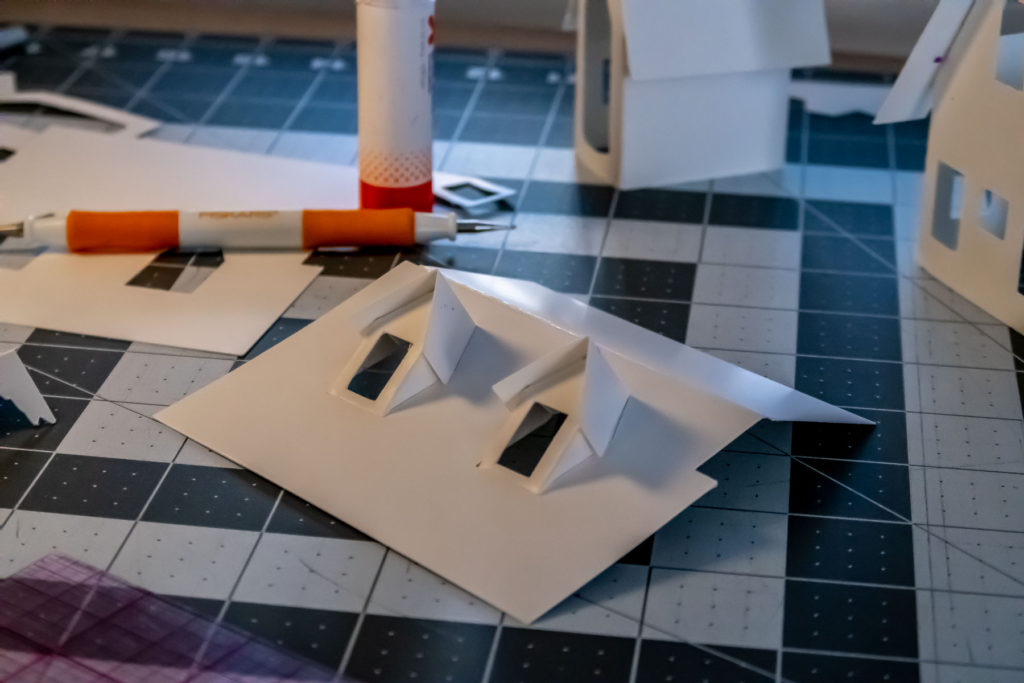
Another change was adding a large opening between the main house and the garage to allow light into what is essentially a separate shed/box/lean-to:
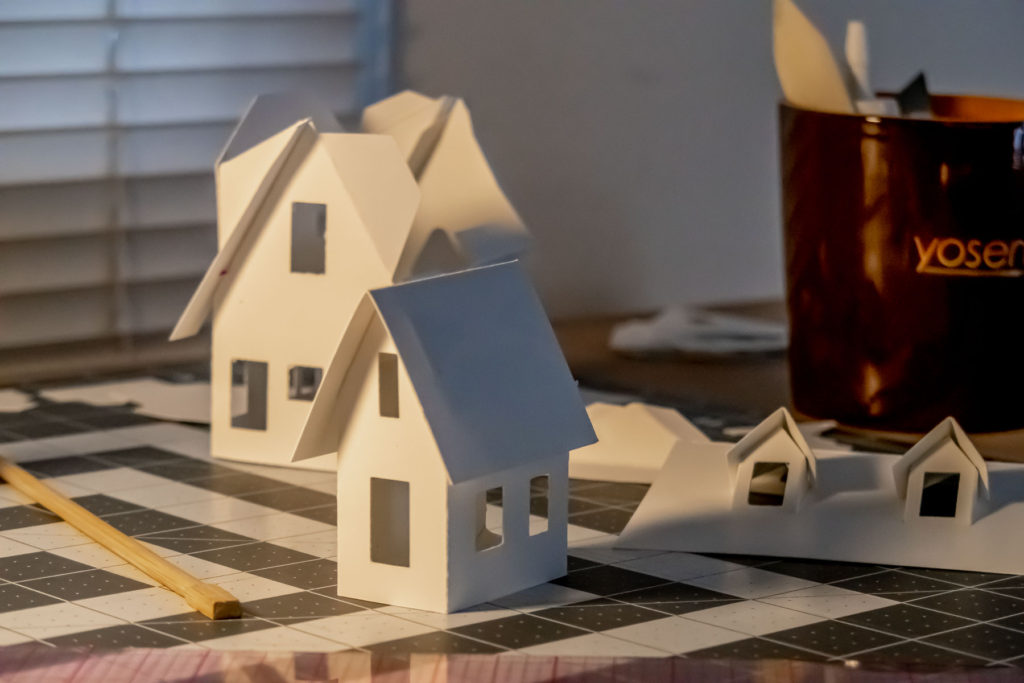
Design changes more or less done I fashioned some snow trim pieces for along the roofline, and refined them in Illustrator before cutting and attaching, this time for the final cut and build…
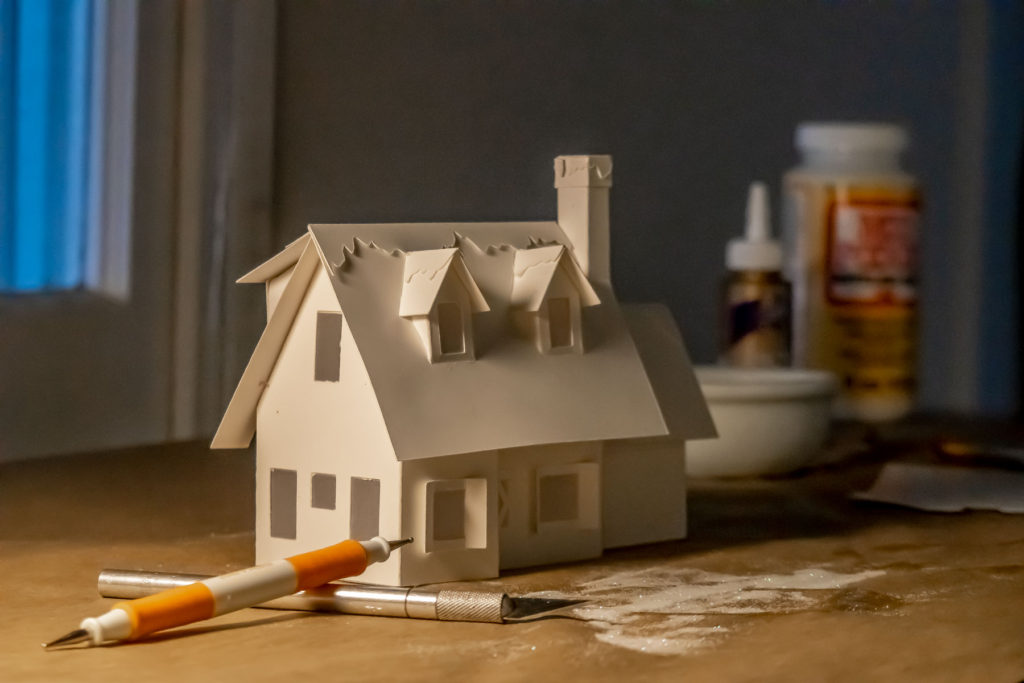
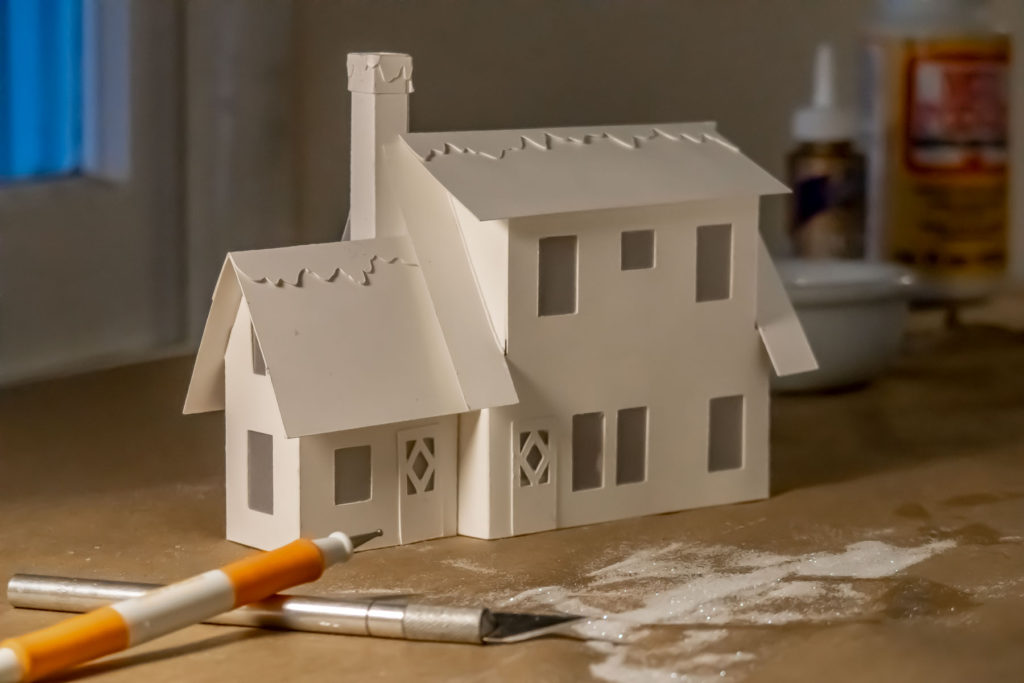
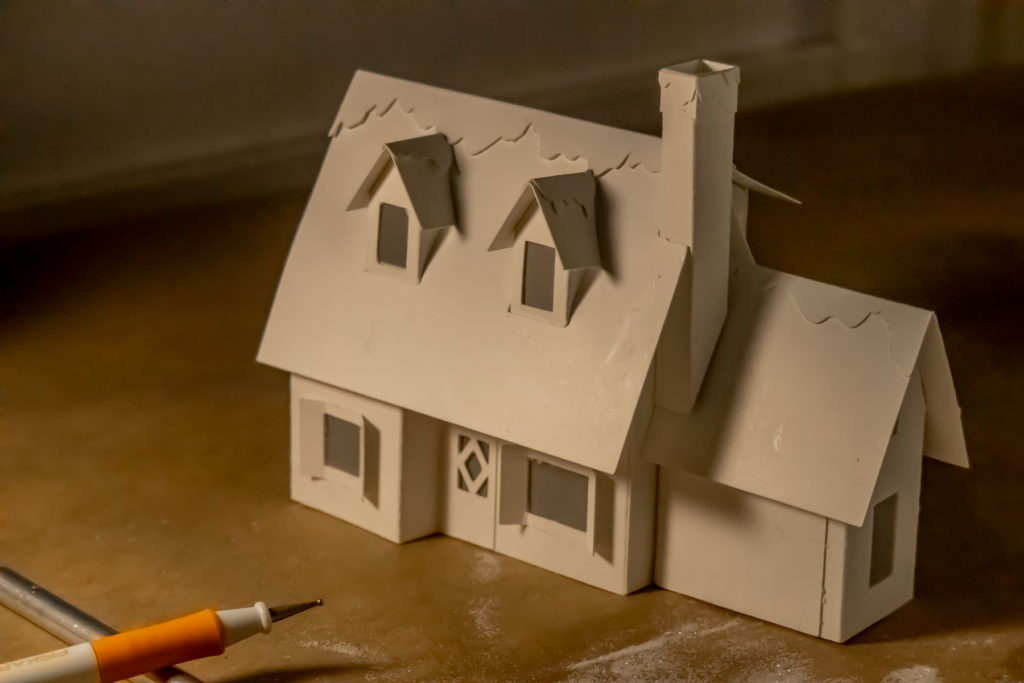
At this point I also attached the window vellum to the interior wall ‘braces’ and glued those in place. I wanted as much strength as possible heading into the rough handling of… glittering.
Yeah. Glitter.
Never knew I’d wind up with a glitter stash, but there ya go.
This wasn’t as difficult as expected. Applying Mod Podge in small areas, then dumping fine glitter only required a half hour of work and surprisingly little mess (a V-folded sheet of cardstock beneath the work to catch the glitter overage and easily slip it back into a bottle really helped)
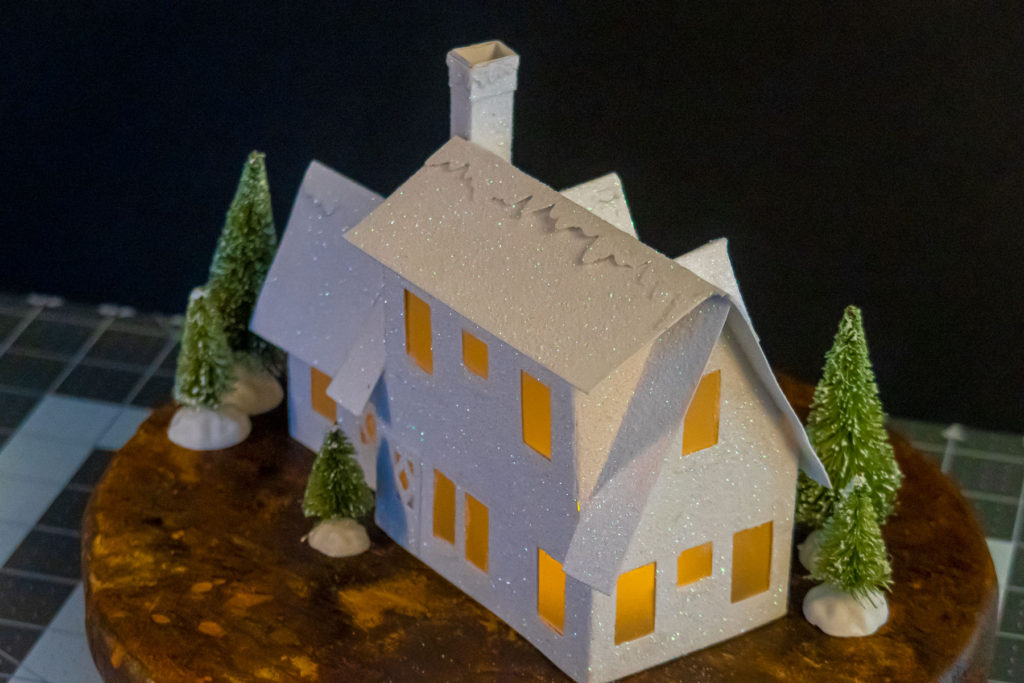
And, that’s pretty much it!
Total assembly time is about 2 hours (assuming you use a cutting machine versus hand cutting).
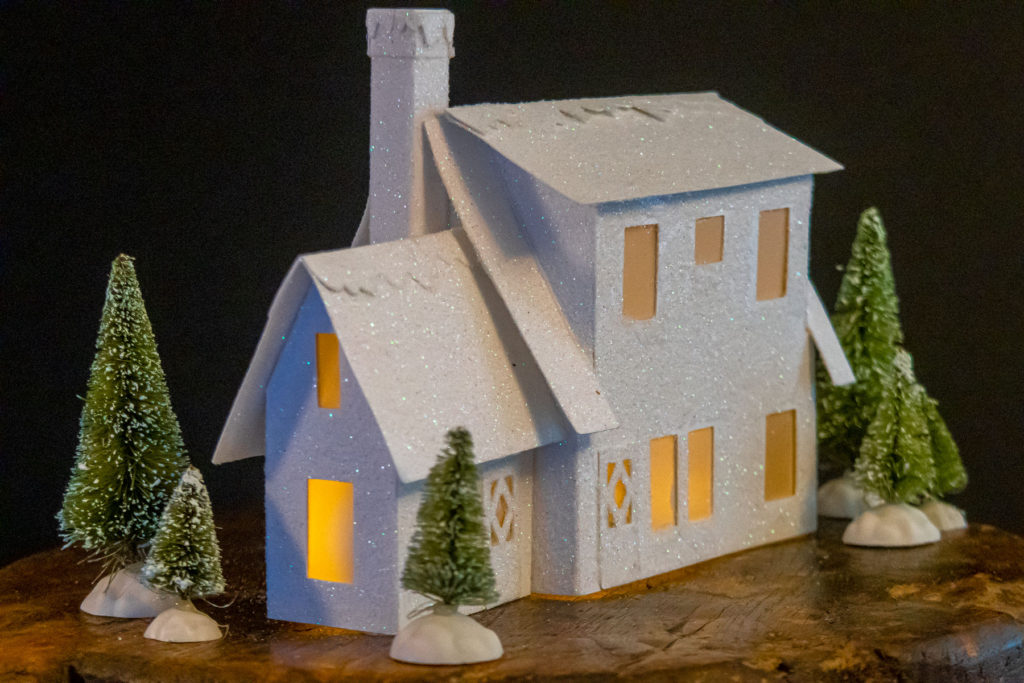
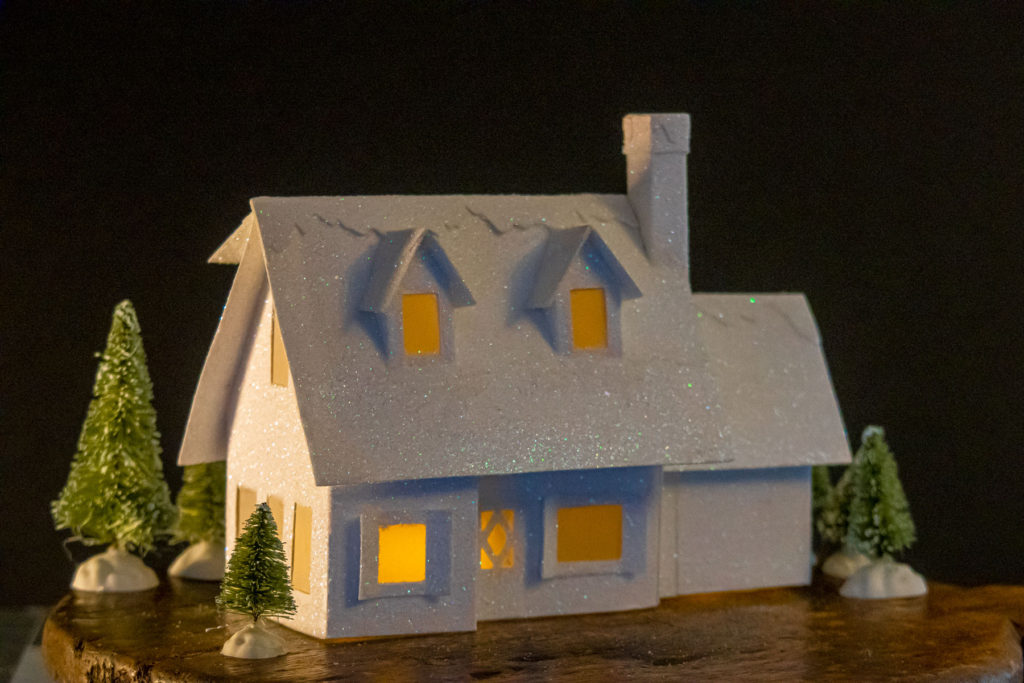
Tools:
- X-acto knife (you do have a fresh blade in it, right?)
- Chop-stick (great for poking and holding tabs down while glue sets)
- Bone Folder (optional)
- sturdy ruler such as a quilting ruler (optional)
- Fiskars® Dual-Tip Embossing Stylus (optional)
Materials
- Card stock — index card stock, chipboard, or medium weight printer card stock
- Glue stick and/or white PVA glue (I use both)
- Glitter
- Mod Podge (or white PVA glue)
- small brushes
- LED tealights
Construction Tips:
The model includes “interior walls”. I used 110# smooth copier card stock, which isn’t dark enough to block candle’s light, so, in order to block interior light, and frankly, improve the house’s strength, I attached vellum/glassine to the “interior” walls and then slipped these inside the main house shell.
Plan your assembly order! Here’s a few pointers:
- Attach doors (including garage door) to walls before assembly wall “box”.
- Assemble the dormers and attach to the roof before attaching to walls.
- Assemble the garage with its roof before attaching to house. Only then attach the chimney.
- Attach front windows with shutters last.
- Moisten the eaves underside with a small brush and just a tiny bit of water before applying the Mod Podge and glitter on top. This prevents too much cardboard curling due to uneven surface expansion due to water.
